Hey everyone. I would like to share something really important for Cosmos ecosystem.
After reading this post you will learn how to:
- Delegate different owner address functions to any other address without risk for owner address.
- Vote from your mobile phone on behalf of your validator node without risk for your owner address.
- Manage all your validators on cosmos chains from one (1!!!) ledger without risk for your owner address through convenient web interface.
- Delegate owner address functons to other address and put your owner address in cold storage forever - maximum possible security for your owner address.
- Receive required cli command in few clicks through convenient web interface.
Introduction
Until recently, managing tendermint-based validator nodes was a daunting task, even for experienced node management experts, let alone newcomers with just one node. This difficulty stemmed not only from the numerous management parameters each node has but also from the time-consuming nature of each task. For example, to change a node’s name, you would need to complete the following steps:
- Open your terminal
- Go to the directory with gaiad
- Ensure you have imported owner address of your validator.
- Execute the command below:
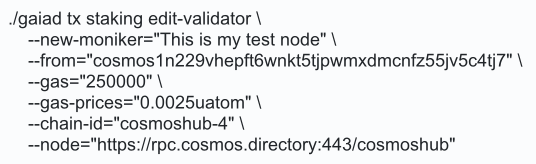
Imagine having to change various attributes such as commission rate, validator moniker, description, identity, website, security contract, and more! Additionally, consider tasks like voting, delegating, undelegating, unjailing, and withdrawing commission, among others. Managing multiple nodes becomes even more complex, particularly for large VaaS organizations operating numerous nodes across various tendermint-based networks, as this necessitates making multiple management decisions. Manually typing extensive code is error-prone and very time-consuming. Moreover, only the mnemonic (node’s seed phrase) owner can perform these actions since each operation requires the wallet owner’s confirmation for transactions. In other words, only the wallet owner can carry out the tasks mentioned.
What if we were to tell you that we have simplified all attribute changes to just two clicks and enabled node owners to give access for specific actions related to the node to a separate address without sharing their mnemonic or private key?
Let us simplify the aforementioned:
You can give others, like friends or employees, the authority to modify your node settings (delegating, withdrawing rewards, voting, etc.) without sharing your mnemonic. Your mnemonic key can be stored securely, and never ever be touched again. To highlight the significance of this feature, here are some key benefits of granting permissions to an address of your choice.
- Save countless hours on validator node management, even if you manage just one node yourself.
- Enhance node security; the only risk comes from physically disclosing your mnemonic to a hacker.
- Grant and revoke specific permissions to chosen individuals within your organization without giving them access to your node. They only have access to the granted permissions.
- The node management system is entirely FREE. Simply create an account on the Allnodes website and use the system as much as you want.
To the best of our knowledge, no other system on the market combines such extensive features with an intuitive user interface. Moreover, you don’t need any coding expertise to utilize it; it’s designed for everyone!
Let’s begin!
-
Create a new account on Allnodes or use an existing one. FREE!
-
Add a tendermint-based validator node for monitoring by clicking the “MONITOR” button in your portfolio page.

- From the prompt screen, select your desired network. Currently 33 Cosmos based networks are supported. In my case, we selected Terra Classic.

- After clicking the “START WATCHING” button, you’ll see the following on your portfolio page:

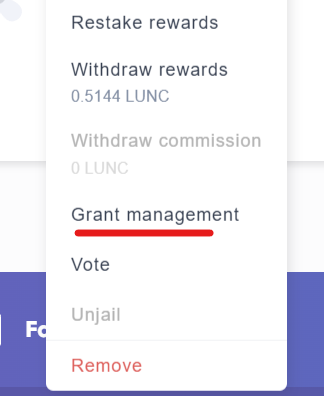
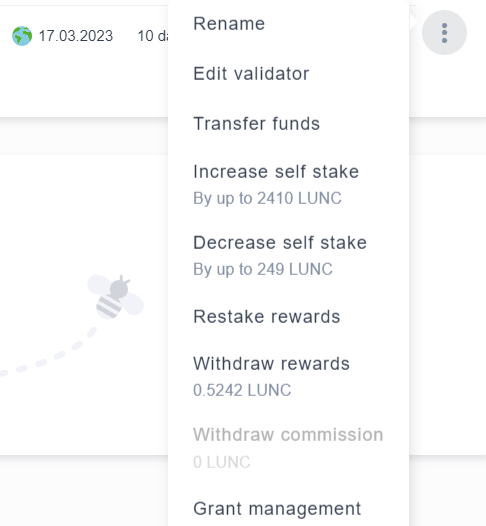
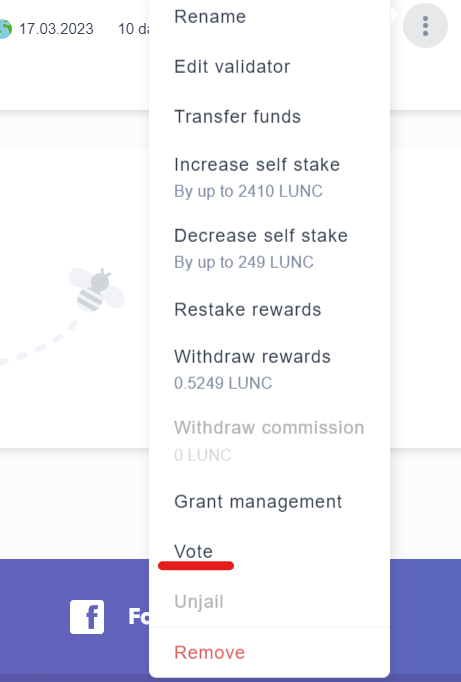
- To access the menu, click on the three vertical dots located on the right-hand side, which will prompt the following menu:
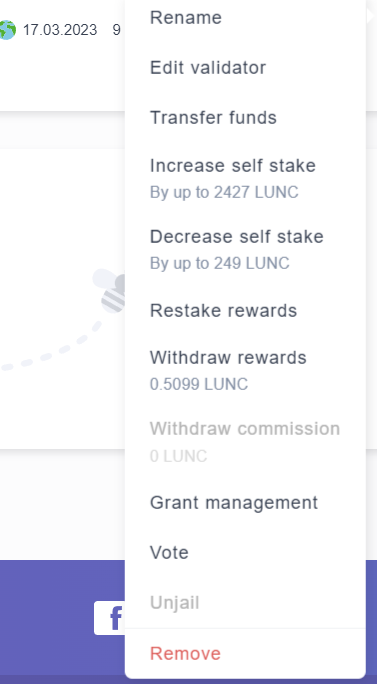
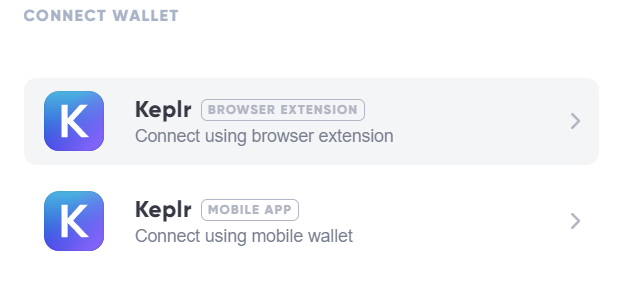
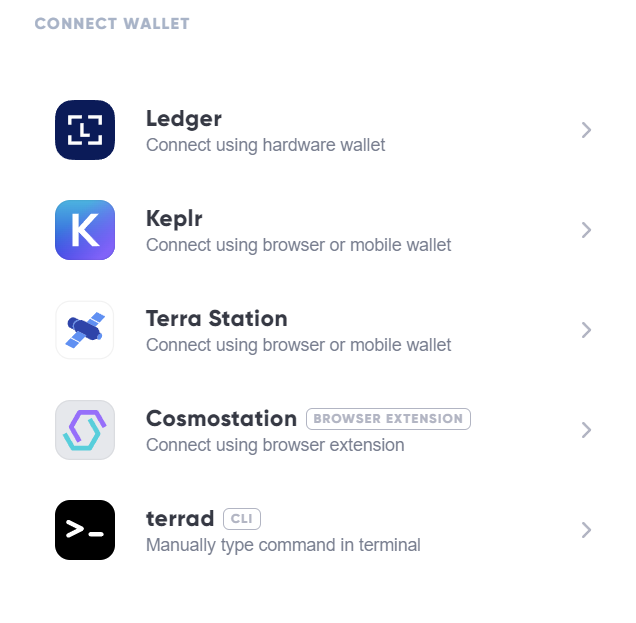
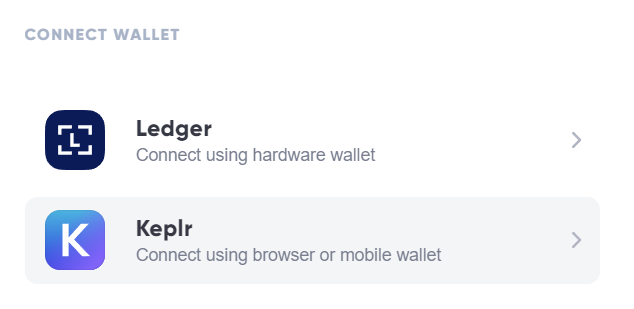
- Let’s begin with the “Edit validator” option. Once selected, you’ll be prompted to connect your wallet. Allnodes provides a variety of choices. In this case, we’ll pick the Keplr wallet, which already has an account where we imported the mnemonic of the node that we’ve set up for monitoring.

- As we are using a desktop PC, let’s select “Connect using browser extension.”
- After connecting, you’ll be greeted with the following screen.
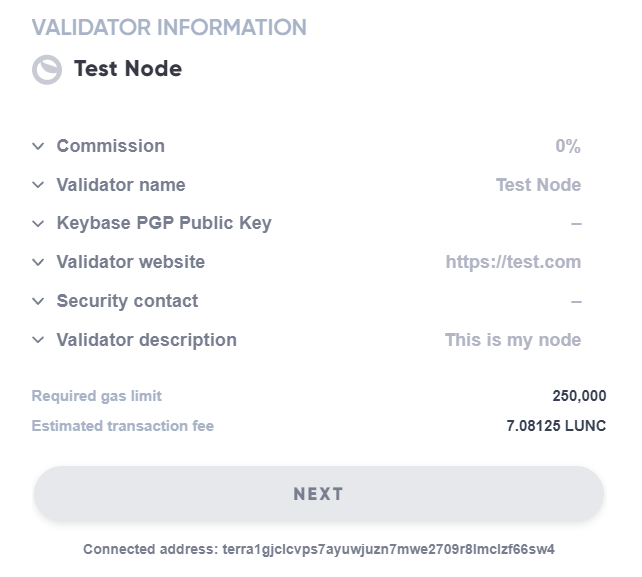
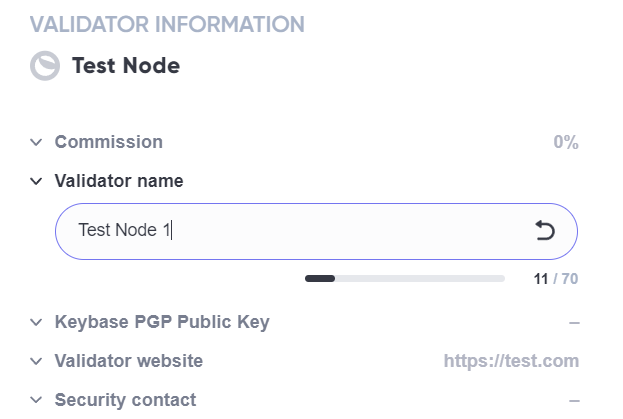
- This is where the magic unfolds. Recall the earlier process of typing code to modify any of those parameters. Now, all you have to do is select the action you wish to execute, and you’re all set. For instance, let’s choose to change the validator name and enter “Test Node 1” as the new name.
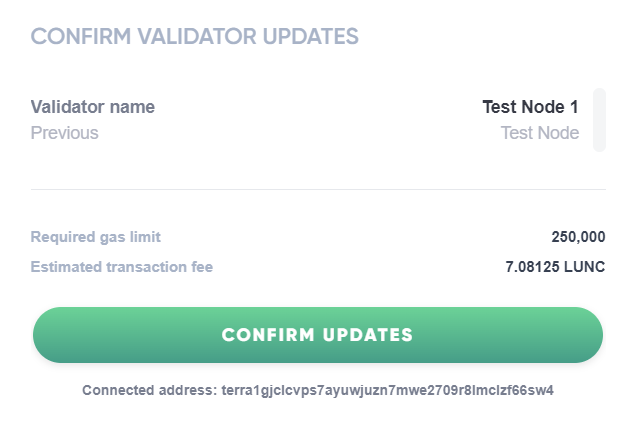
- Confirm the update.
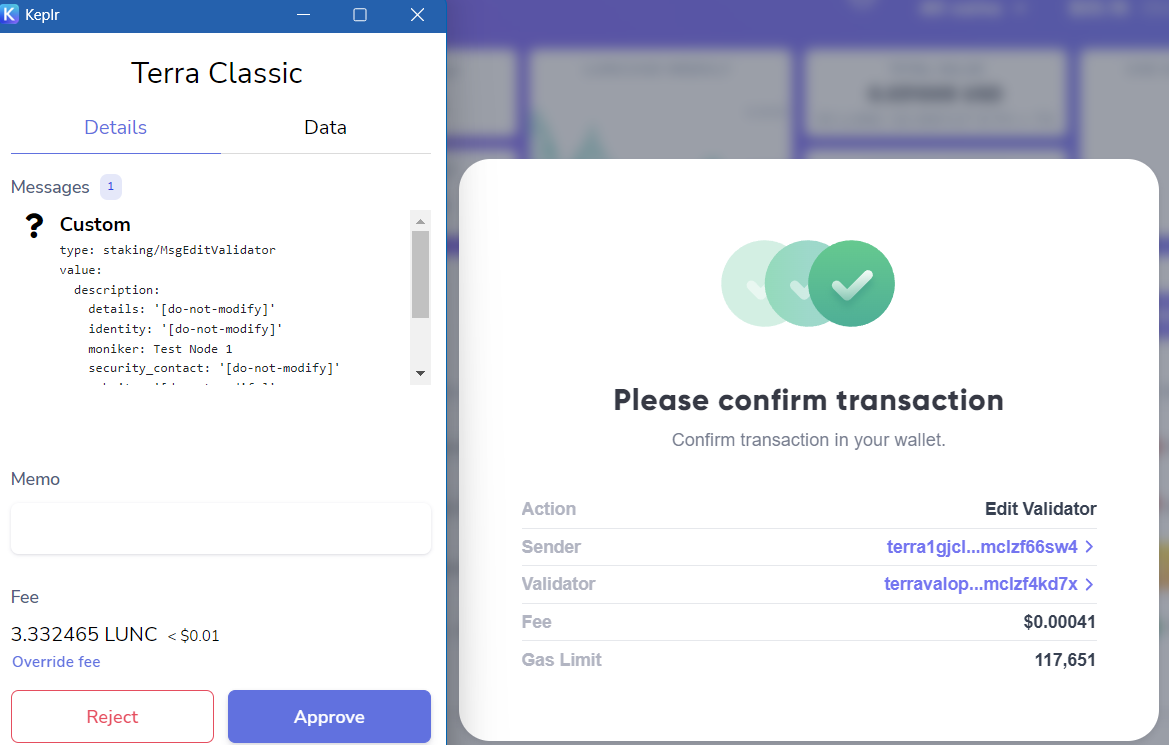
- Approve the transaction in your Keplr.
- You can either view the transaction in the explorer or simply click “CLOSE” to exit.
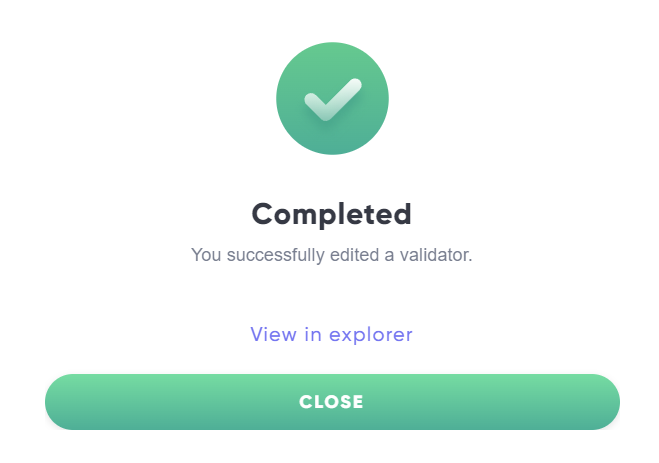
- Congratulations! You’ve successfully avoided the hassle of manually entering code, saved time, and eliminated errors. Plus, you can keep renaming it as often as you desire. There’s no need for Linux knowledge or other technical expertise to perform this action. Isn’t that great? Well, this is just the start. We’re now moving on to an even more impressive step: let’s talk about Grants.
Grant Management
Envision a scenario where you have a wallet containing a considerable sum of funds, but you frequently require to execute routine transactions, such as voting on governance proposals or claiming staking rewards, delegating funds, etc.. The process of connecting your Ledger or accessing your wallet in cold storage can be quite bothersome. By utilizing the Authz module of Cosmos SDK, you can give permission to a separate address to carry out specific transactions on your behalf. You don’t have to worry about that address having access to take any other actions involving your funds. This means that you can perform your regular activities without any concern about compromising the safety of your precious wallet.
Grants enable more flexible and secure management of resources and roles within an organization or between individuals. By using grants, users can maintain better control and security over their accounts and assets in a Cosmos-based network.
How to use Grant on Allnodes
- While on the portfolio page, access grants management by clicking on the three vertical dots located on the right side.

- Select your preferred wallet. In our case, we opted for Keplr, which has an account where we imported the mnemonic of my node for monitoring (refer to the above instructions on how to add a node for monitoring).
- As we are using a desktop PC, let’s select “Connect using browser extension.”
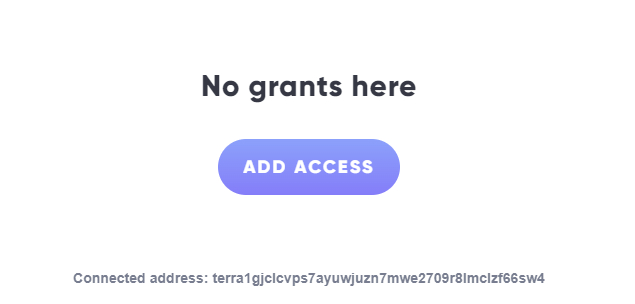
- At this point, you haven’t given any grants yet, meaning you haven’t assigned any address to perform actions on your behalf using the node. Click “ADD ACCESS” to proceed.
- After clicking on the “ADD ACCESS” button, the following screen will appear:
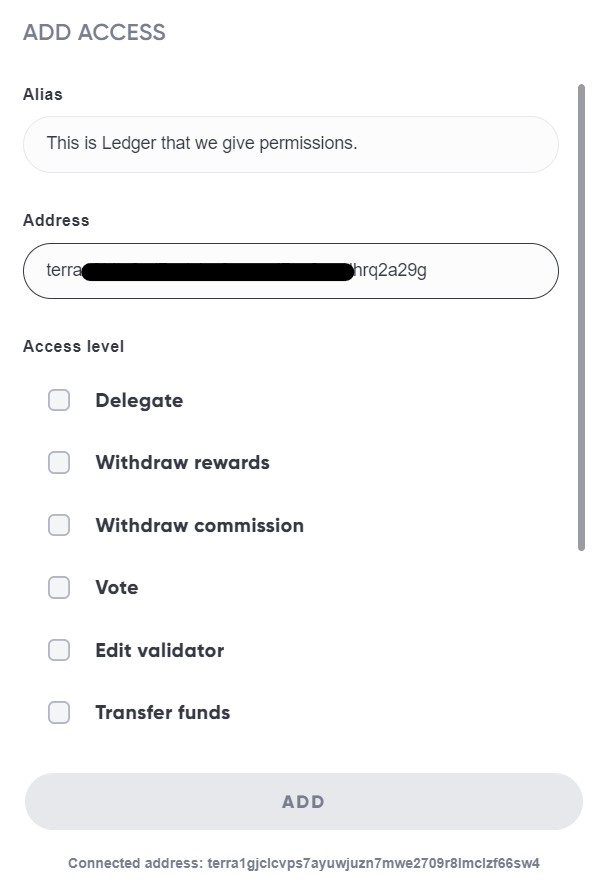
Alias — This is the name you assign to the wallet you’re granting permissions to. In our case, we will use the address of my Ledger Nano, which is empty. For security purposes, using an empty ledger dedicated solely to serving as a grantee is better.
As you can see further, there are numerous options to choose from. Most of them are self-explanatory, but let’s highlight a couple that may not be as clear.
Fee grant — allows one account (the grantee) to use the tokens of another account (the granter) to pay for transaction fees. This is particularly useful when the granter wants to enable certain actions or transactions for the grantee without requiring the grantee to hold tokens or pay fees themselves. Fee grants can also be revoked by the granter at any time.
All options + grant management — This option is pretty fascinating. Essentially, you can choose all the features with just one click, and then grant another address the ability to manage rights. So, both you and the other address end up with the same management rights, but there’s one key difference: the address you granted management rights to doesn’t know or have access to your mnemonic or seed phrase. Now, this is awesome!
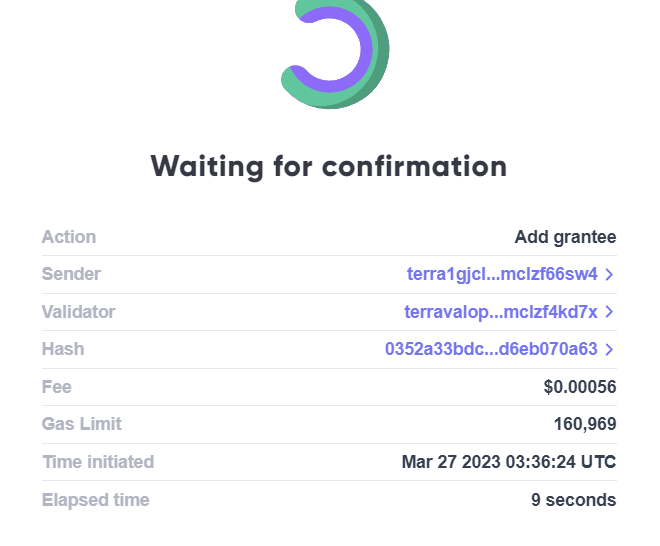
- After choosing all the grants you want to issue, you’ll need to approve the transaction and then wait for the confirmation.
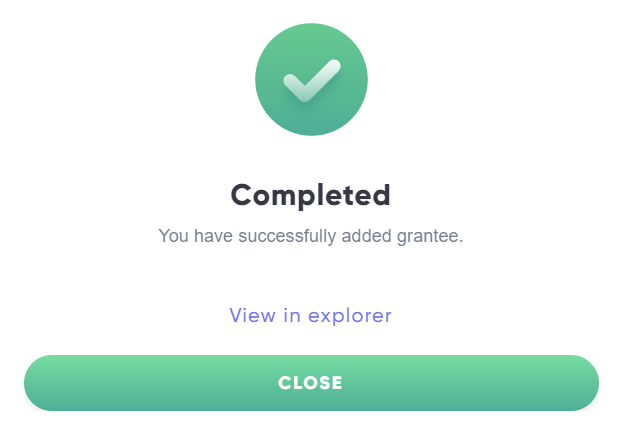
- Click close once completed.
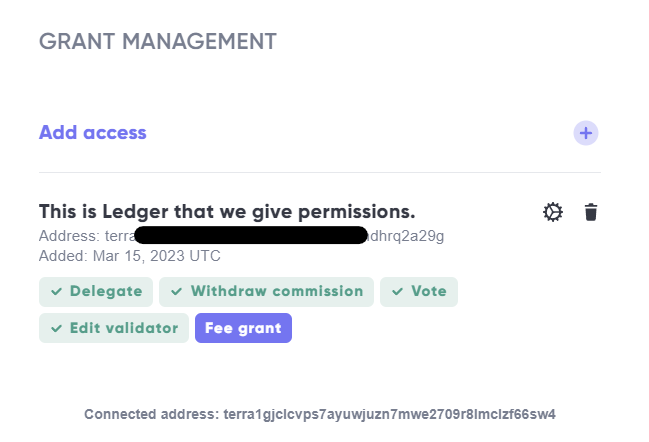
- Now comes the magical part. Once again, select “Grant Management” from the drop-down menu.
- After clicking, you’ll be presented with a list of permissions granted to the selected Ledger, displayed in green, along with the fee grant in blue. From here, you can grant access to an additional address, add more permissions, or revoke existing permissions as needed.
- Now let’s see if our Ledger can utilize the voting permission granted by the granter. This time, select “Vote” from the drop-down menu.
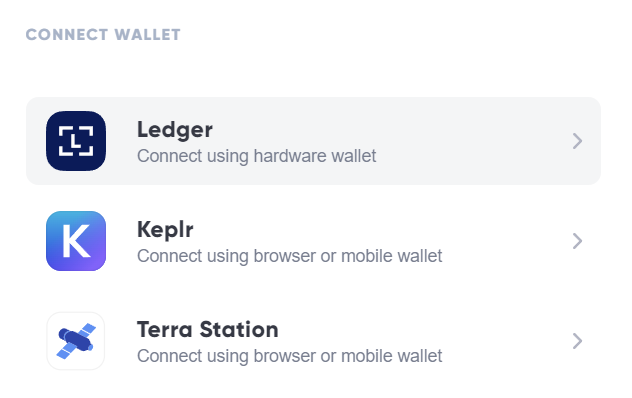
- When prompted to connect a wallet, choose “Ledger.”
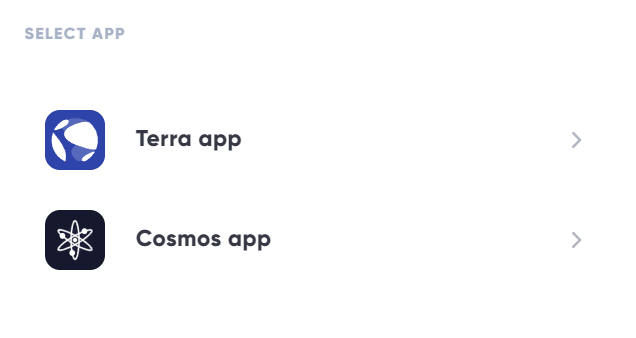
- Select the Cosmos app, which must be installed on the Ledger beforehand.
- Since we granted voting permission to the Ledger, we’ll be presented with the following screen:
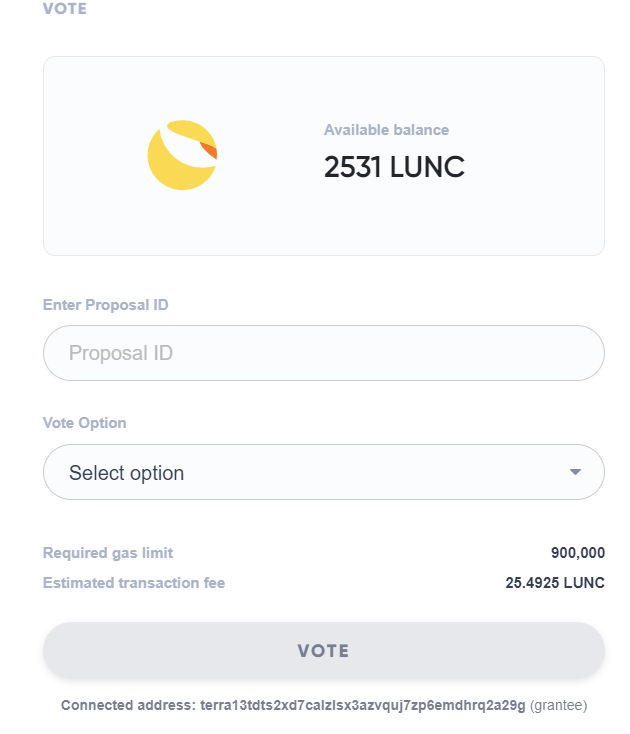
Because our Ledger has the fee grant permission, we can carry out voting using coins from the granter’s account.
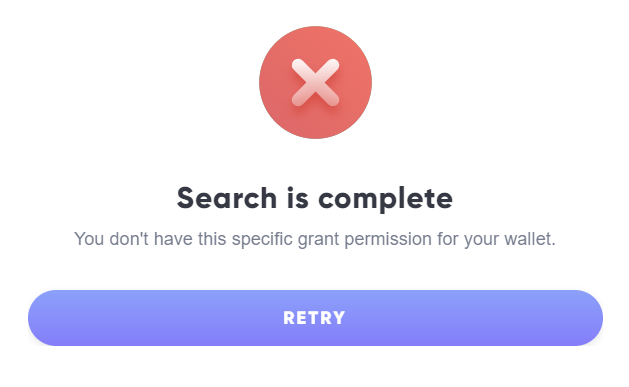
If we hadn’t been given Voting permission, we would have seen the following screen:
In conclusion, Allnodes’ management system is a one-of-a-kind tool that saves both time and money. It enhances node security to a virtually impenetrable level. We believe this system should be used by every VaaS operator, large or small.
Node management on tendermint-based networks has never been easier and more straightforward to use. With the upcoming addition of the governance module, this tool will become invaluable. Give it a try, share it with your colleagues, and experience its benefits. It’s 100% free and serves as Allnodes’ contribution to the Cosmos ecosystem. Thank you for reading, and stay tuned for more updates.
Start using now: https://www.allnodes.com/monitor
P.S. If you have questions or want to test the system, feel free to reply here, in my DM or in Telegram